Blog Archives
Shape Up Saturday: Ow! My back!
To begin, I’ve already seen so many people with lower back pain that I believe this week’s exercises won’t work for everyone at any given moment. Like those exercises I’ve picked in my previous posts, these are some of the safest exercises/stretches I can offer, BUT I can’t emphasize enough that it’s important that you know your body and listen to it. Developing an awareness of how you hold your body and why can go a long way.
So, you know. Consult your doctor and all that, especially you people with herniated disks and stuff. A lot of times you can still do these exercises, but every situation is different.
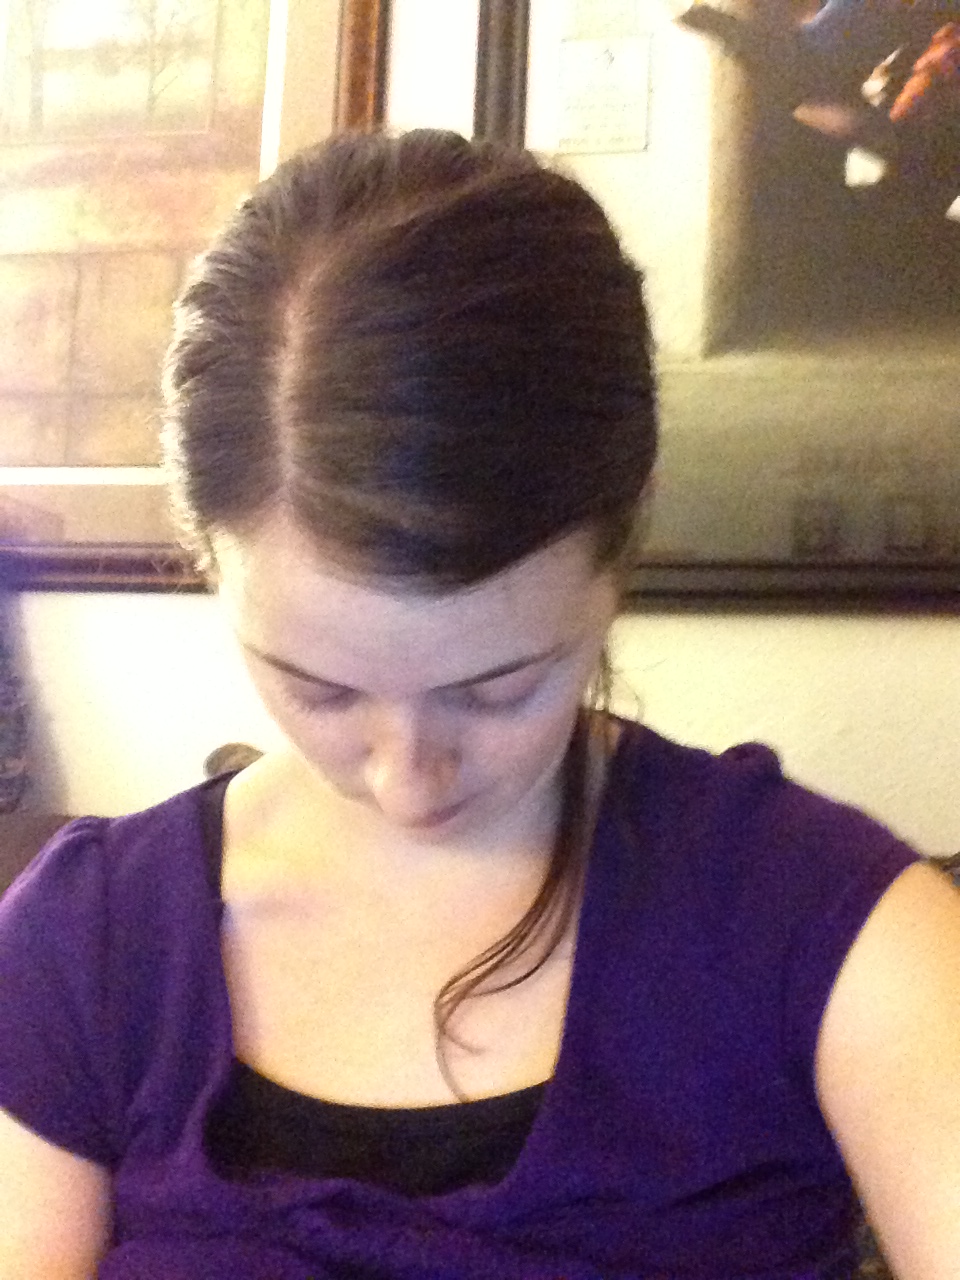
With that out of the way, let’s point out – again – that posture plays an enormous role in how much tension you carry in your shoulders, neck, and back. So take a look at this photo and see which one best represents what your posture looks like on a regular basis:

Be honest with yourself – which way to do you stand?
Correcting your posture (using gently engaged core muscles) will save you from a lot of discomfort.
So, assuming that you’re experiencing an uncomfortably tight lower back, but your spine is otherwise healthy, here’s a gentle stretch that feels lovely, particularly after standing for a long period of time:
Notice that my back is relaxed here – the goal is not to touch the toes, but to stretch the sides and the back. This may extend the stretch into the hips a bit.
Another pose that may gently stretch and release the back is Child’s Pose. Your knees hurt when you bend them like I am, you say? Then roll up a small blanket and place it between your hips and your heels.
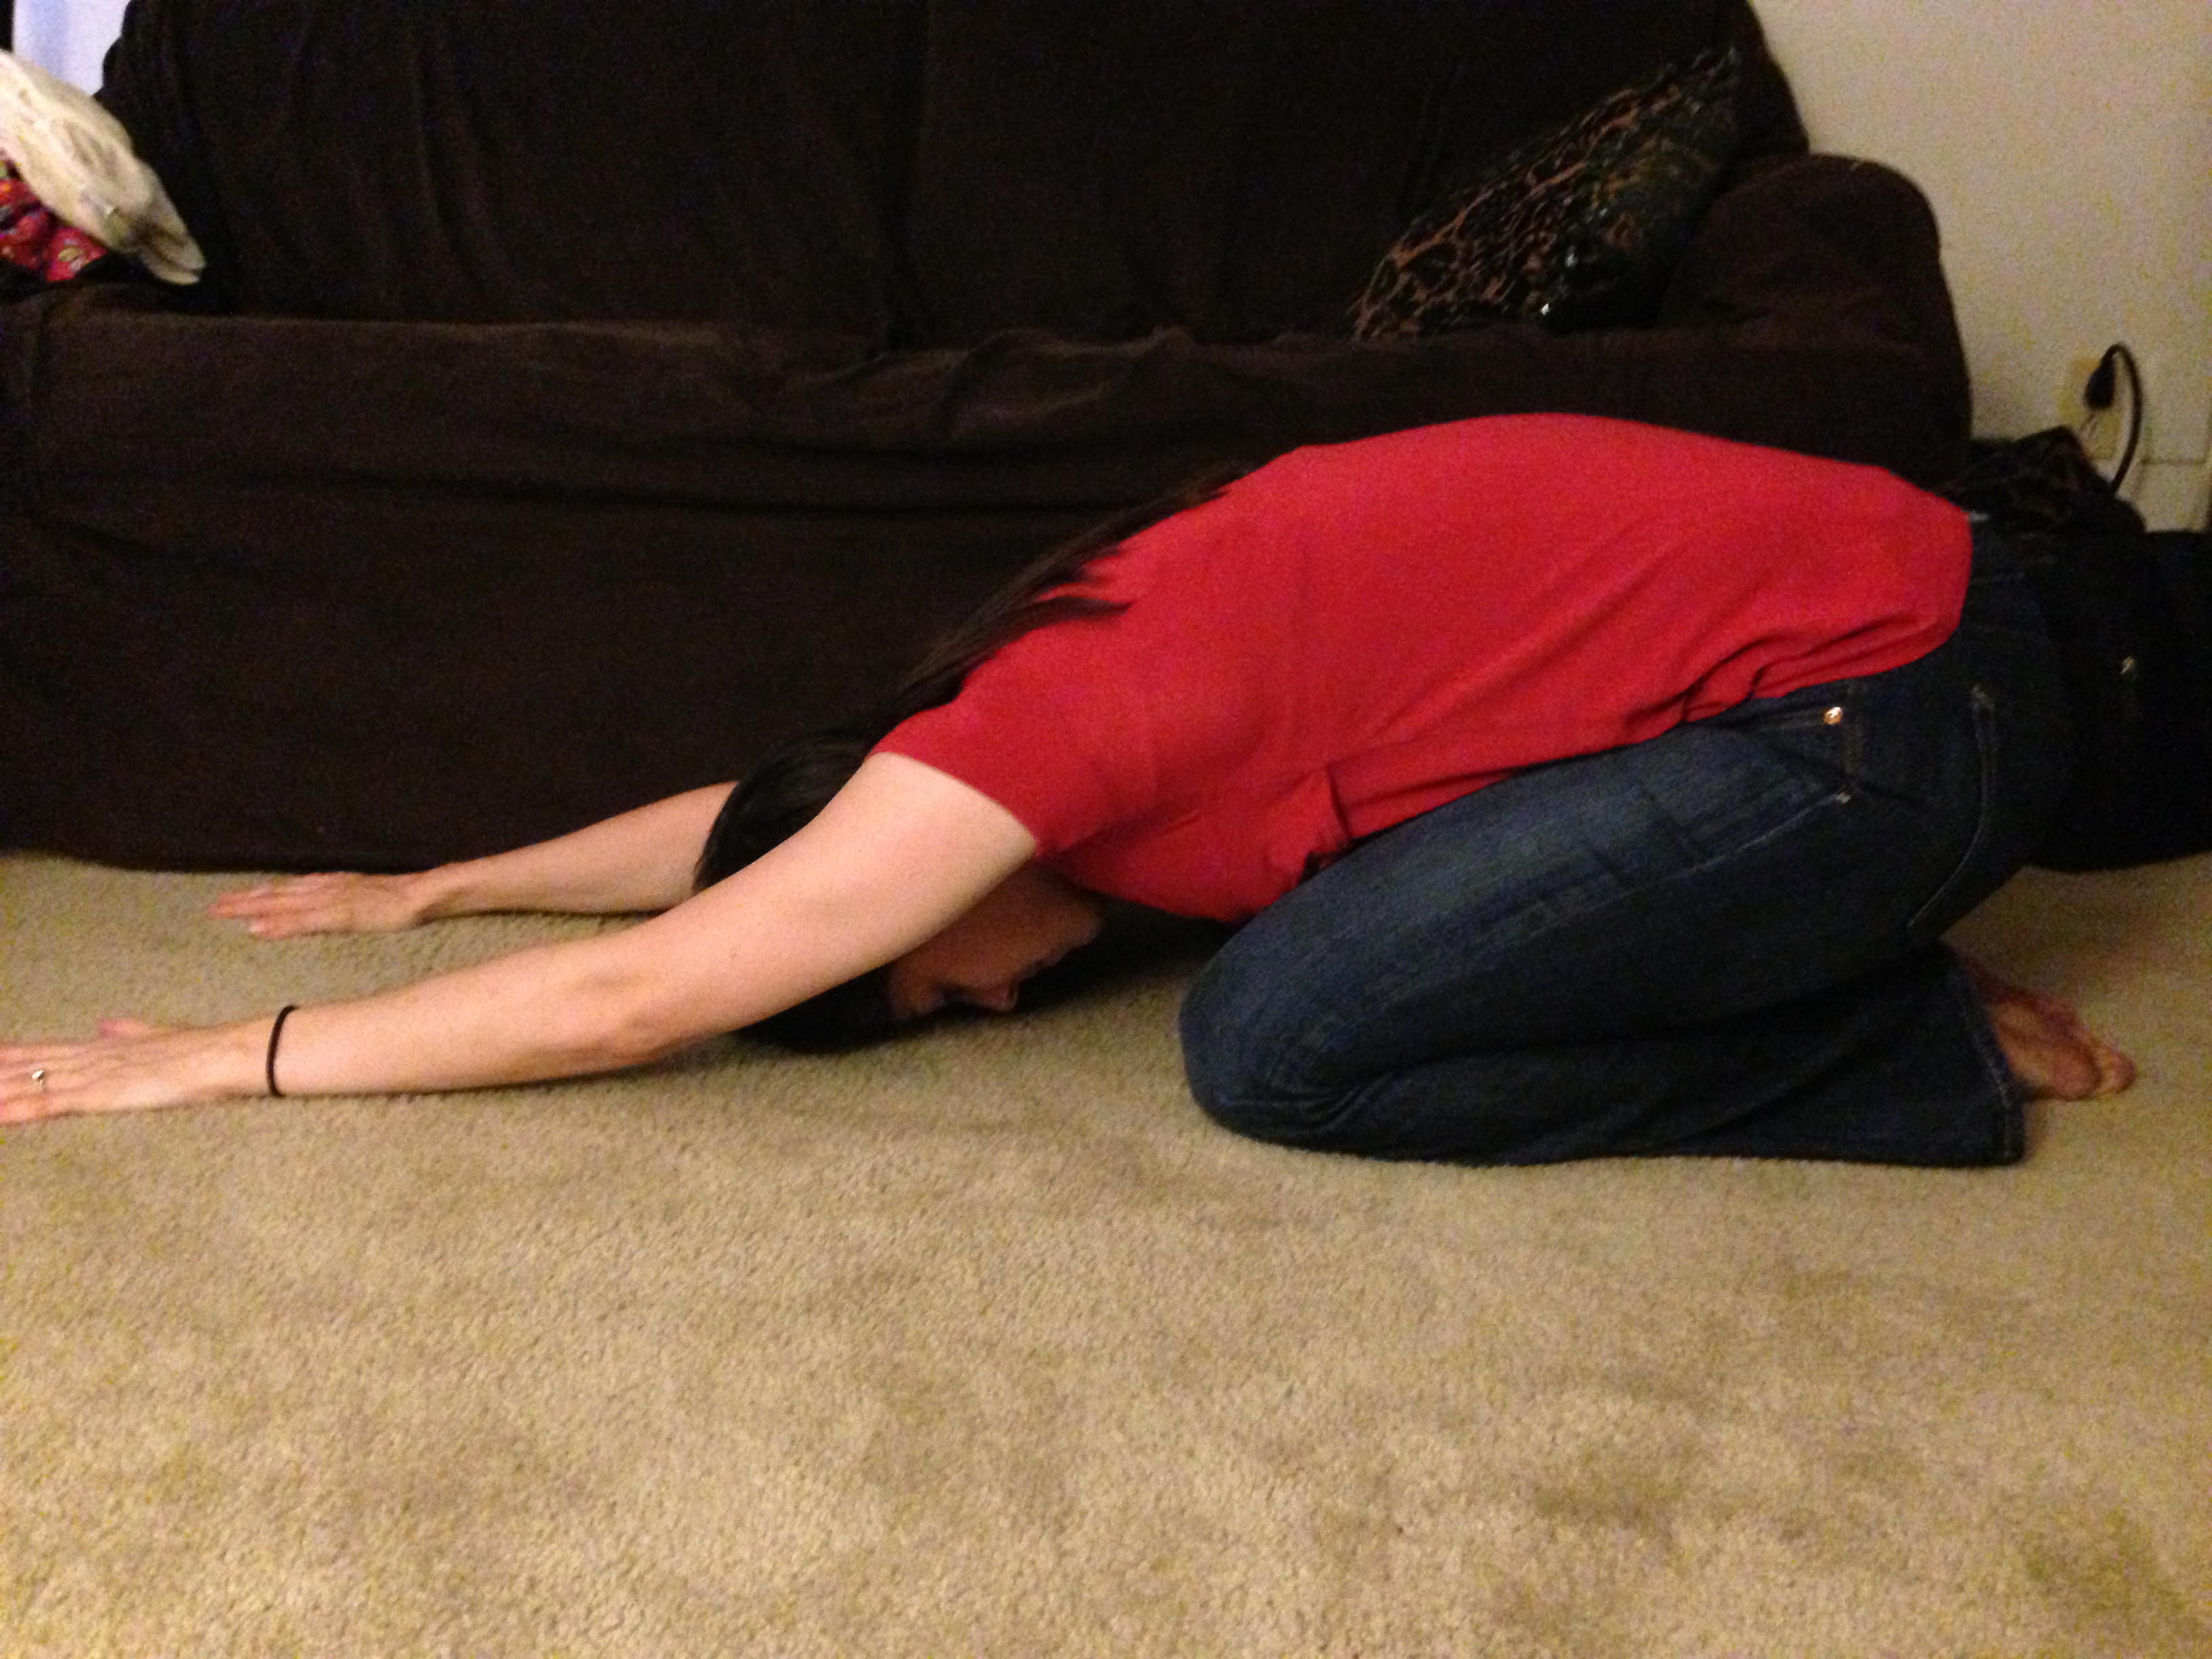
Child’s pose.

Modified child’s pose – see which one feels better, and do that one.
Often gently rocking the pelvis forward and back (using the abdominals, not pushing with the feet or squeezing the rear) can remind the back to relax. It’s also a great way to practice correct posture. In this first picture I’m arching (I know my clothes make it hard to tell the difference) and in the second I’ve pulled the front of my hipbones up, which aligns my spine without much effort involved.
Arched lower back – my spine is not happy in this uncomfortable position.
Abdominals gently engaging to create a comfortable neutral spine.
From that neutral spine you can also roll up into a Bridge, trying to lift off one vertebrae at a time, and then slowly lower back to the ground the same way. If you care about breathing (and if you’re reading this, you’re alive and I assume therefore that you care a great deal about breathing), you inhale to prepare, exhale while rolling up, inhale at the top (zipping the abdominals together), and exhale while rollling down.

From neutral spine continue rolling all the way up to a Bridge – notice my ribcage isn’t pushing up.
Here is Bridge in its 6 second glory: https://vine.co/v/hppbqjBV5hY and https://vine.co/v/hppb9E7TYgj. Why are the clips sideways? Because my husband accidentally filmed them that way, and I let it go this time… this time.
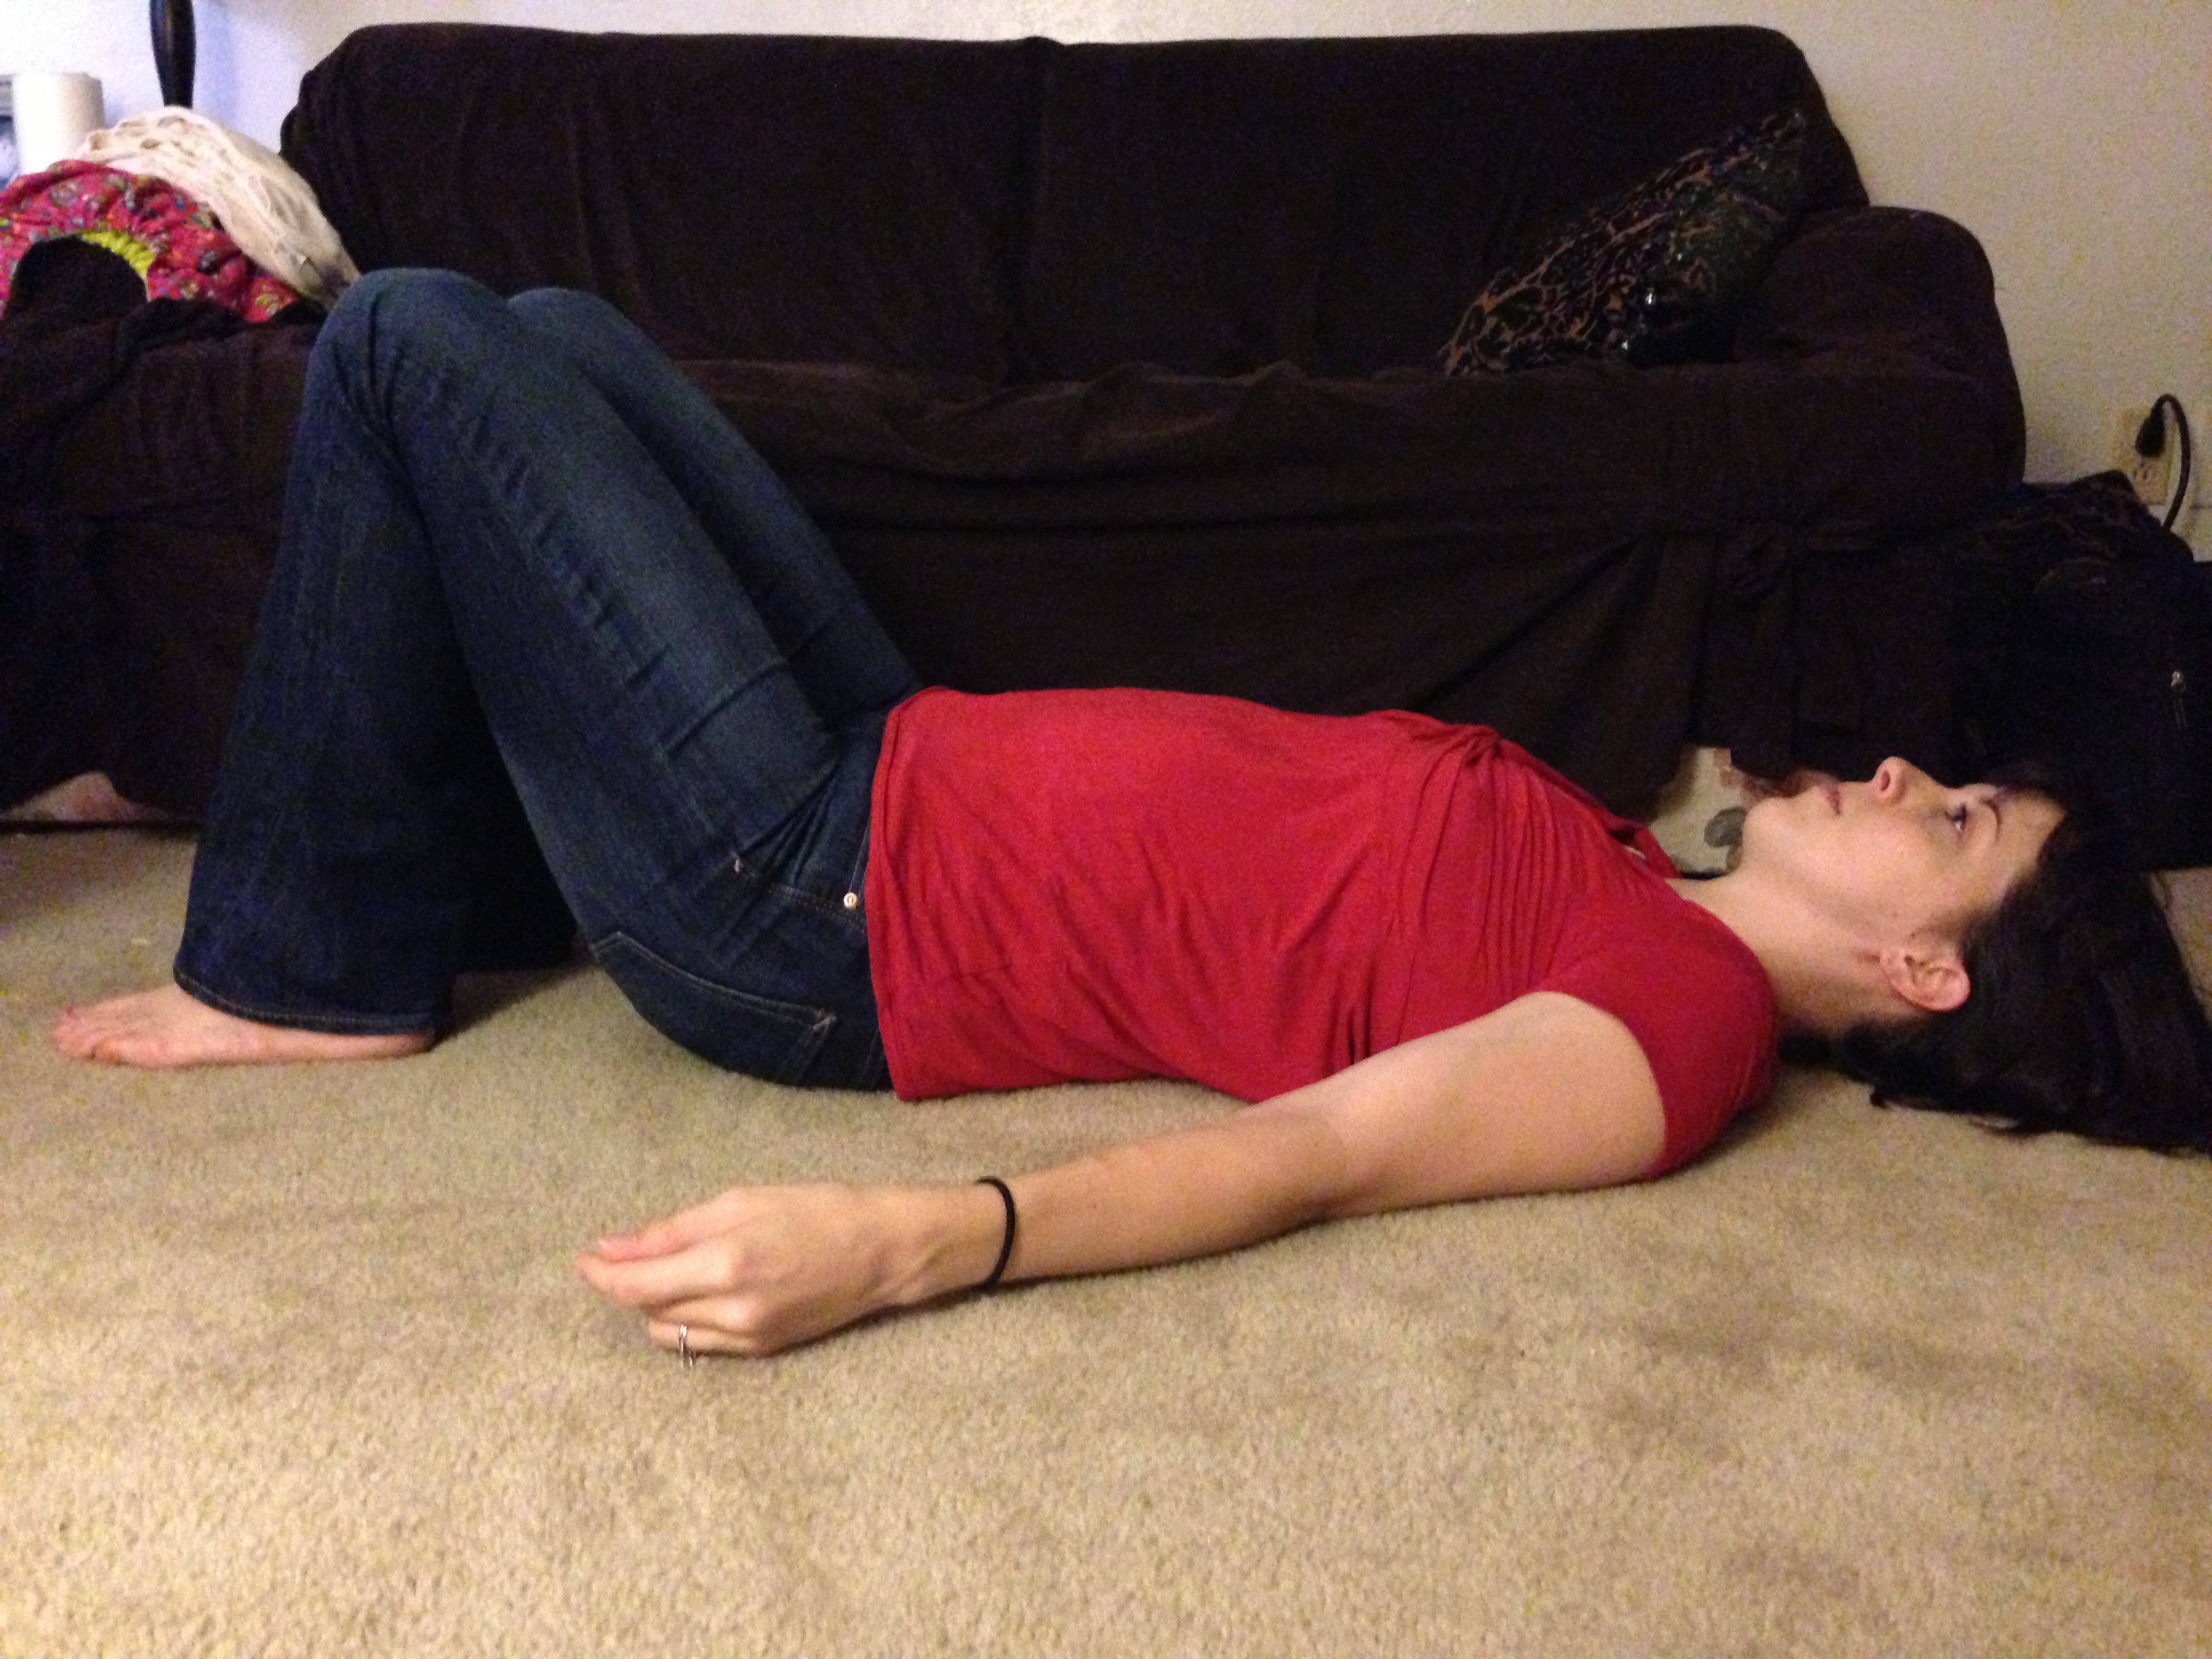
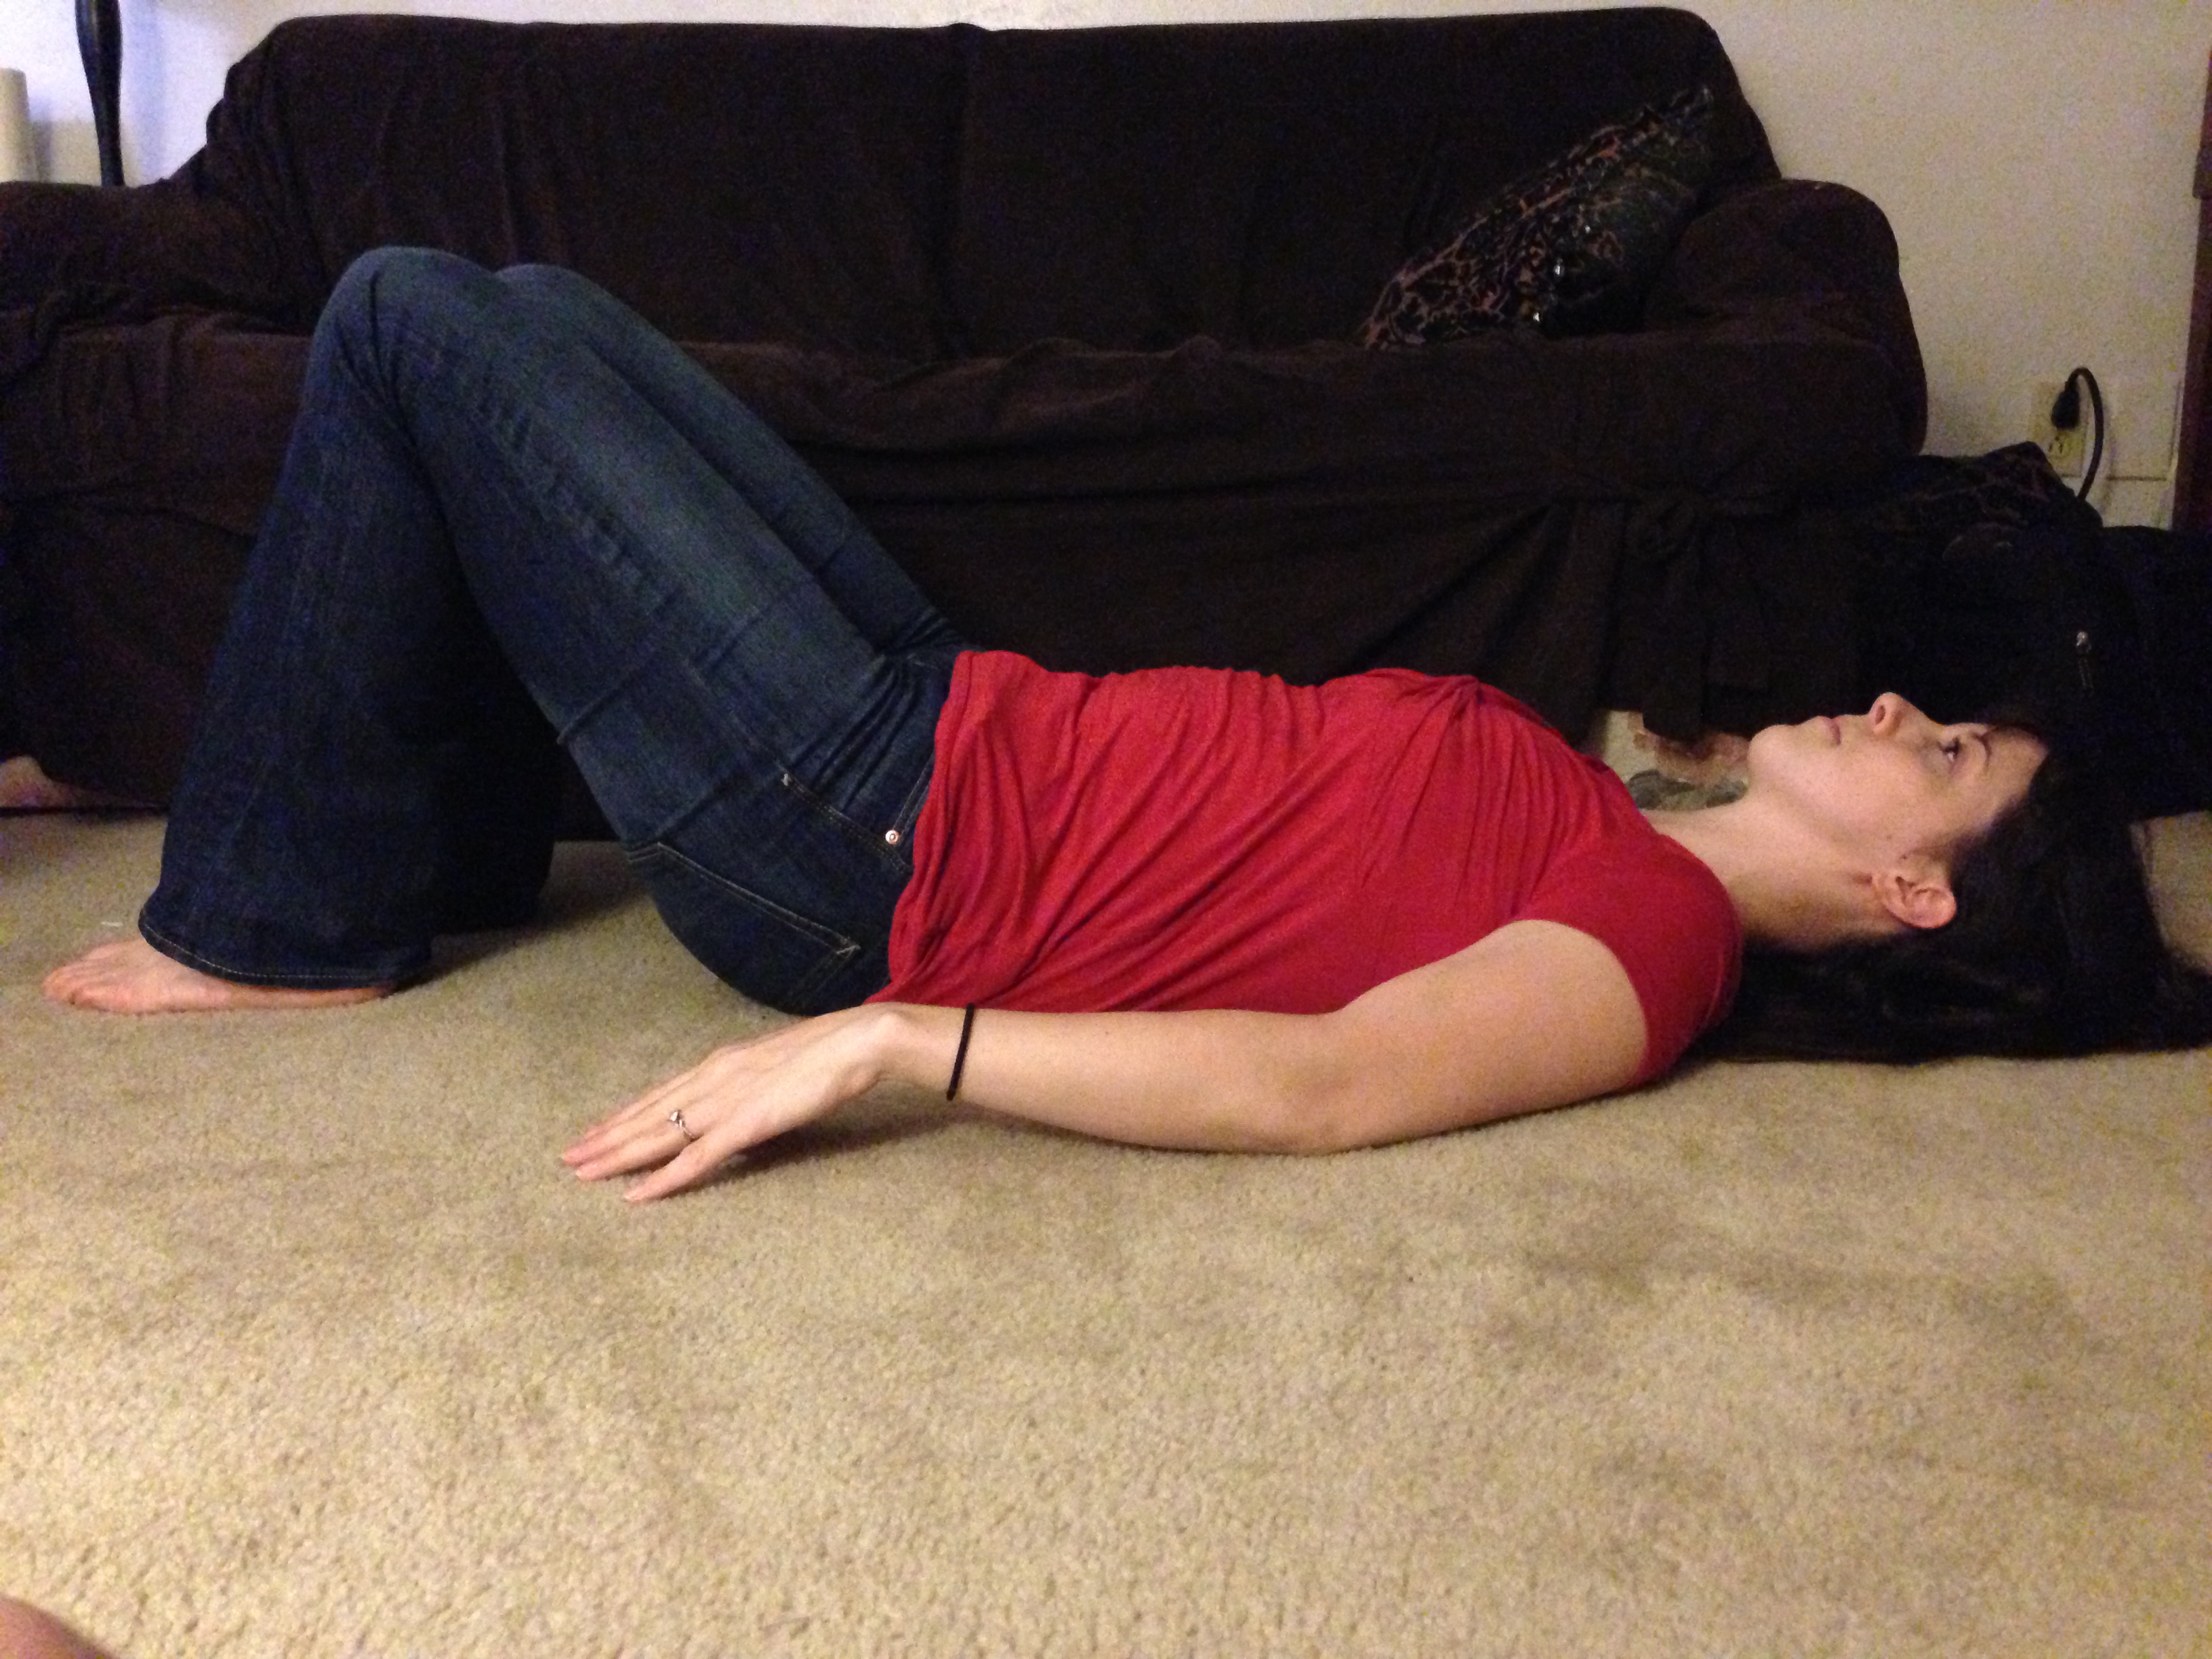
Gentle spine ‘twisting’, such as the Mermaid (or Merman, of course) I am demonstrating below can also help relieve tightness in the back. Keep the ankles and knees gently drawn together as you lay there. Notice my face is turned away from my knees – this increases the stretch. I’m also -gently!- keeping both shoulders on the ground. If you can’t keep the shoulders on the ground just yet, that’s okay! It will come, grasshopper.

Another incarnation of Mermaid – ahhhhh. So nice.
The last exercise I’ll offer for strengthening the back is Locust. While lying on your stomach, forehead resting on the ground and palms facing the ceiling, engage the abdominals so you feel like you’re ‘lifting’ them away from the ground. Lengthen the legs and arms behind you and then lift them off the floor while lengthening and lifting the head forward. (It is key that your body works together as a unit here.) Take a few breaths here, and then lower the body and rest in Child’s Pose, like I demonstrated at the beginning of this post (you always want to round the back after arching it).
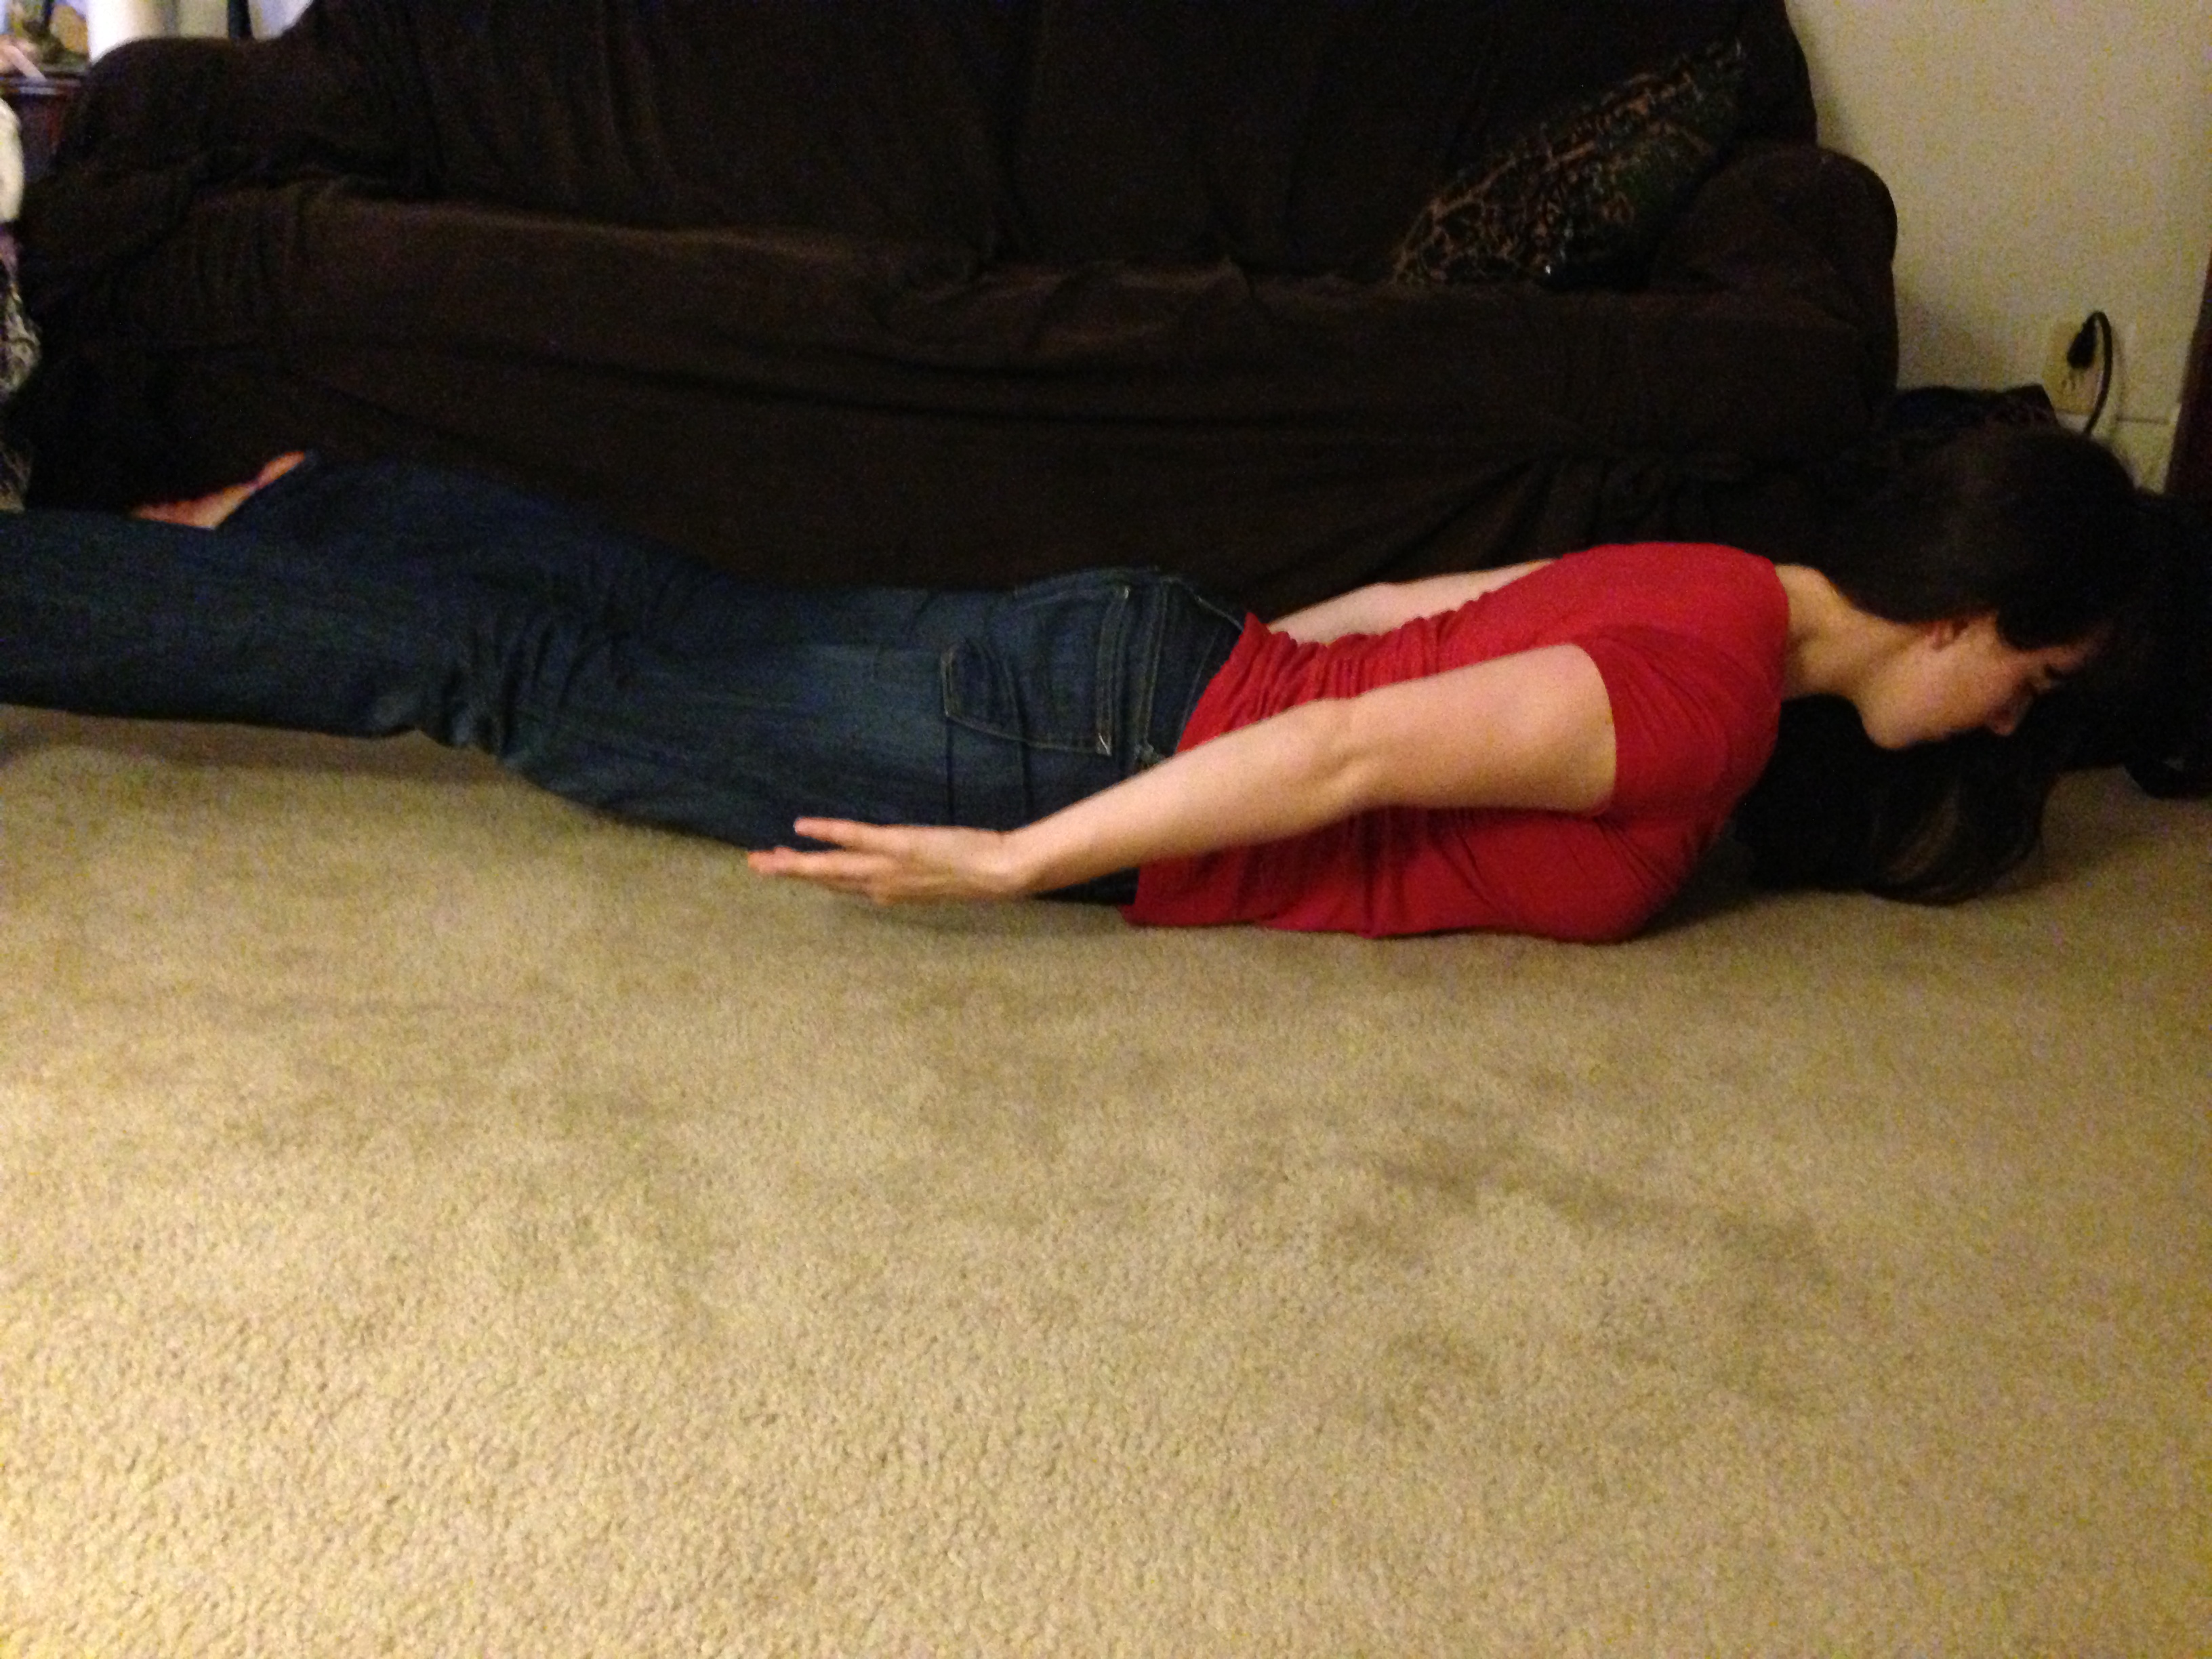
And here is Locust, if we’re talking yoga. Flight if we’re talking Pilates, and planking if we’re talking pop culture.
And there it is for today. This only begins to get into exercises for the back, but I can only crack this can of worms open so far before I end up writing “Your Back and You: A Promising Relationship” and ignore all my fiction writing, which would make me sad. That’s not my book to write.
Let me know which exercises worked best for you!
Shape Up Saturday: Mermaids – and why we should all love them
My apologies for the break in Shape Up Saturday posts. Saturdays seemed to get a little crazy there, and somehow I kept delaying videoing these simple exercises on Vine. But I’m back on it, and today’s post is short and sweet.
One thing I’ve noticed over the years of teaching and observing is that the universally relaxing stretch in Pilates seems to be the Mermaid (or Merman. Take your pick. It’s still the same exercise.), which is also known as Side Stretch.
This stretch is fantastic because it has so many variations. I use it in class on ALL of the equipment, and it can be done sitting or standing. You may have seen it show up in yoga as well. I love this stretch because it releases endorphins, stretches and strengthens the waist, and is just a great, basic way to get people to breathe and relax.
The basic movement, whether you’re sitting or standing, is bending your trunk sideways, exhaling as you bend and inhaling as you lift back up to the top. Here I am doing Mermaid on my kitchen chair:
Notice I’m lifting my opposite arm over my head. Doing Mermaid without lifting your arm is okay… I guess… but I get way more out of it when I create that long arcing curve from my hip to the tips of my fingers. My opposite hand doesn’t HAVE to cross over the body to hold onto the back of the chair like that, but it’s a nice basic way to help you keep your body and balance stable.
In case you want to impress all your friends with your sweet moves and there ISN’T a chair available, you can do it standing. (In yoga this has been called Crescent Moon). You can use the same breathing.

Swaying with the breeze and it feels so nice.
So we’ll leave it at that for today. I still need to do a quick report of FenCon, which was two weeks ago and gloriously successful in the baby-toting realm, so I’ll be posting that in a day or two.
Tell me how Mermaid (or Merman, no judging!) feels for you! Next week I’m planning to give a few tips on relieving back pain, but I’d love to hear what else you’d like me to cover.
Shape Up Saturday: Shrug Off that Tension!
Welcome to Week 2 of Shape Up Saturday! This week we’re talking about letting go of all that ridiculous tension in the neck and shoulders.
Out of all the strange and painful things that people unconsciously do to their bodies, I find the stress in the neck and shoulders to be the most interesting. Nobody wants to have all that tension up there. And yet when we’re trying so hard to do a plank, drive in crazy traffic, or spend a few hours on Facebook on the computer writing or studying, our neck and shoulders get tight and we mess up our posture.
Why do we keep hurting ourselves like this?
My opinion (freely and frequently stated during my Pilates classes) is that we have all this energy constantly running through our bodies. Even if you don’t feel particularly energetic, the potential for energy is still there. Anytime we tighten a muscle we’re directing a small amount of that energy to a particular part of our body.
The problem is that we don’t always use our energy efficiently. That plank you were holding? The work should have been more like this:

Shoulder tension can’t save you now!
And driving? Sitting at the computer? If you think about it, hunching your shoulders does nothing. Those jerks that cut you off and those trolls on Huffington Post feel nothing when you tense your shoulders. You are the only one that feels that pain.
IT DOES YOU NO GOOD. Your stomach doesn’t get stronger from tensing your shoulders – in fact, it makes it harder to properly target the correct muscles for whatever you’re doing. You’re taking this beautiful skeletal structure and unnecessarily lifting it up.
So let’s transfer that somewhere a little more useful… like our abdominals. We want the energy to go into the muscles that can actually help us with our task, and we want to send the bad feelings away from us completely. Right? Right.
So.
I took it upon myself to set up a Vine account yesterday when it occurred to me that Vine would actually be a useful tool for quickly showing the proper positioning for the exercises I’ll be recommending throughout my Shape Up Saturday series. Because I’m awesome I asked my husband to video me demonstrating this neck stretch – and because I’m lazy you’ll see me with no makeup. Yep.
So here it is. Try this the next time you’re sitting at a stoplight or waiting for a webpage to load:
In case using Vine was a terrible idea and I totally wasted my time and dignity posting that clip and you can’t view it, I’ll post pictures:
Sitting tall, exhale chin to chest (it’s less about tucking the chin to the chest and more about lengthening the neck while you’re down there):
Inhale and roll head to one side, nose pointing forward, neck long.

Exhale and roll head back down to the chest, still keeping the neck long.

Inhale and roll head to the other side. The more you lengthen the neck the better the stretch will be.

Repeat until the light turns green. I know this is a super simple stretch, but we all need to decrease the load on our shoulders, whether we’re writers, readers, or candlestick makers.
Did you try it? How do you feel? Did the Vine clip work for you? If you want me to cover a topic, let me know!
Shape Up Saturday: The Core of the Problem
Have you been pregnant? Yes? Cool. This post may be very helpful for recovering from pregnancy, even if it’s been years since you waddled your last waddle. If you haven’t been pregnant, guess what? This post is STILL for you. Don’t run away so quickly.
I’m kicking off my Shape Up Saturday series by talking about our core. This is something I CONSTANTLY talk about in my classes, so I’m sure I have a lot to say, but I’ll keep this as concise as possible.
Okay. So.
Our core can get soft and weak for so many reasons. To name just a few: pregnancy, busy schedules back injuries that require weeks/months of rest, or maybe, just maybe, the computer chair is getting more attention than the yoga mat. Whatever our reason, it’s likely that the weak core will lead to back pain, neck pain, back pain, shoulder/neck pain, back pain, back pain, and other pains. All this pain can lead to damaged vertebrae, tense muscles, and crummy sleep.
And who wants to hurt all the time?
One way we try to fix a weak core is with crunches or sit ups. But if we are pregnant, postnatal, overweight, or even a body builder, we can end up with this:

Diastasis Recti – not cool

Diastatis Recti again – still not cool
That’s a Diastasis Recti. This occurs when the rectus abdominis, which is commonly known as the ‘six pack’ that everyone’s always trying to attain, splits. The abdominals as a collective muscle group can’t function well if it maintains this split.
You can determine if you have a split by lying down on your back and with your knees bent. Place your fingertips in the umbilicus and lift your head (not the shoulders) a few times as you press slightly deeper. Feel for the edges of the rectus muscles coming up. The number of fingers that fit in the space between the edges tells you how wide the separation is. A half a finger width indicates no diastasis. A finger or greater indicates there is one.
So what do you do? Suck your stomach in?
Abso-freaking-lutely NOT. Sucking your stomach in restricts your air flow (your diaphragm can’t move around properly in there), your ribcage, shoulders, and neck take on TONS of tension that they just don’t deserve, you don’t engage your deepest (and most helpful) abdominal muscles, the transverse abdominis, and that’s Just. Not Comfortable. Save sucking in your stomach for those 10 uncomfortable seconds you have to squeeze past someone to get to your seat at Thanksgiving dinner.
What you do instead is start by relaxing your stomach, and breathing.
That’s right. Just breathe for a second.
And now take a look at this picture:

A well-explained picture – note the direction each of the muscles move, especially the transverse abdominis.
As I mentioned earlier, the transverse abdominis is the deepest of the abdominal muscles, and can help heal diastasis recti. Below is a simple exercise to heal the split, called transverse pulses.
If you don’t have diastasis recti, this is still an important exercise to use when doing nearly any other exercise, as it will help properly support the spine. Try it and see if you can sense your abdominals better (you should also feel more relaxed!)
Lie on your back with your knees bent and your feet flat on the floor, place your hands on your belly.
- Inhale for 4 counts while letting your belly gently press into your hands.
- Exhale while drawing your belly button slightly in and up to your ribcage (like you’re scooping ice cream), flattening the abdominal wall (TA) and imagining that you are pulling your two sits bones and pubic bone together, squeezing/lifting your pelvic floor muscles.
- Inhale release the muscles half way out
- Exhale and quickly draw them back in
- Quickly repeat this small in and out motion 30 times
- Repeat 2 more sets of the pulses
And that’s it! Sometimes you can’t find that deep awareness of the transverse until you’ve done a set or so. Having a good relationship with our bodies take time and attention, but it’s worth it.
Tell me how you feel after trying this! Also, let me know what part of the body you’d like to strengthen/stretch/relax next.
